Most people like home-cooked meals, but preparing them takes time that isn’t always available to everyone. If your work days are long or you’re a busy parent juggling a full-time job, activities for multiple kids, and a hectic household, sometimes something just has to give.
At Mid-life Musings we get it. There are only so many minutes and hours in your day, and there isn’t always a way to squeeze even one more thing into it — especially if it means spending an hour or more in the kitchen when you’re already tired.
That’s when many people, myself included at times, resort to frozen pizzas or other prepackaged foods that are faster to make or reheat. And sure, takeout is another option, but eating fast food or restaurant-cooked meals every night can empty your wallet while simultaneously increasing your waist size.
But the good news is that there is a way you can eat delicious, easy weekday dinners that are still homemade without spending a lot of time cooking each night. What am I talking about? The answer can be found in make-ahead meals or weekend meal prepping, and below I detail how you can start creating your own make-ahead meals to cut down on time spent in the kitchen.
Note: For the purposes of this post the word ‘meals’ means casseroles, soups, or other dishes that are truly a full meal by themselves. But, ‘meals’ also refers to dishes that are only the main course — like meatloaf — and still need salads or other sides to pair with them.
What Are Make-Ahead Meals?
Make-ahead meals also go by other names like weekend meal prep, freezer meals, slow cooker meals, dump dinners, dump and go meals, sheet pan suppers, meal planning, and many more. Along with those terms, you might have also heard people talk about meal prepping, which means different things to different people.
Some people consider meal prepping to be the process of breaking up a recipe into smaller steps and doing as many of them ahead of time as possible. I feel that this particular definition of meal prepping can be part of the whole process of creating make-ahead meals.
Note: For this post, we will consider meal prepping to be interchangeable with make-ahead meals.
So what are make-ahead meals? Essentially, they are just what they sound like: meals you make in advance of when you’ll actually need them. Yes, that means you’ll still have to spend some of your time in the kitchen preparing food. But, once you start meal prepping you’ll see that making lots of meals all at once can be a real time-saver overall. And as an added bonus, meal planning can lower the amount of money you spend on food each month!
The bottom line is, no matter how you package them and whatever you choose to call them, make-ahead meals nearly always beat store-bought prepackaged meals, takeout, fast food, and restaurant-cooked meals, in my opinion. Of course, all of these other options have their place and are still great to use occasionally. However, make-ahead meals, when prepared and stored well, are usually fresher, cheaper, tastier, and just as convenient as the other options when it comes to everyday meals.
Ways to Meal Prep
There are several different ways to prepare make-ahead meals. They can include, but aren’t limited to:
- Fully cooked batch meals — cooking multiple meals, then storing them in bulk.
- Uncooked batch meals — assembling multiple meals, then storing them in bulk.
- Fully cooked single meals — cooking multiple meals, portioning them, then storing them.
- Uncooked single meals — assembling multiple meals, portioning them, then storing them.
- Meal kits — gathering all or part of the ingredients for one or more meals and storing them together.
- Meal prepping — mixing spices, chopping vegetables, or making sauces ahead of time for bulk or individual meals, then storing them.
How to Store Make-Ahead Meals
Just as there are a lot of ways to prepare make-ahead meals there are also multiple ways you can store them. A few storage options include:
- Canning — cooked meal-prepping ingredients, meats, gravies, sauces, soups, etc. for bulk or single-serve meals.
- Dry Canning — uncooked beans with dry broth or spices, rice with dry broth and dehydrated vegetables, etc. for bulk or individual meals.
- Freezing — cooked or uncooked meals either in bulk or individual servings.
- Refrigerating — uncooked meals you’ll cook and eat within a few days.
- Boxing — think meal kits.
Meal Storage Supplies You Might Need
Obviously, the supplies needed for storage of your make-ahead meals depends entirely on how you’ll store them. This list may not cover everything, but some of the supplies you might need could include:
- Canning or Dry Canning — glass jars (there are multiple kinds and sizes), metal lids, rings, jar labels, Sharpie, pressure or water bath canner, canning rack, jar lifter, long-handled ladle, spatula, food grade funnel, food grinder, apron, knife, cutting board, and chopping tools.
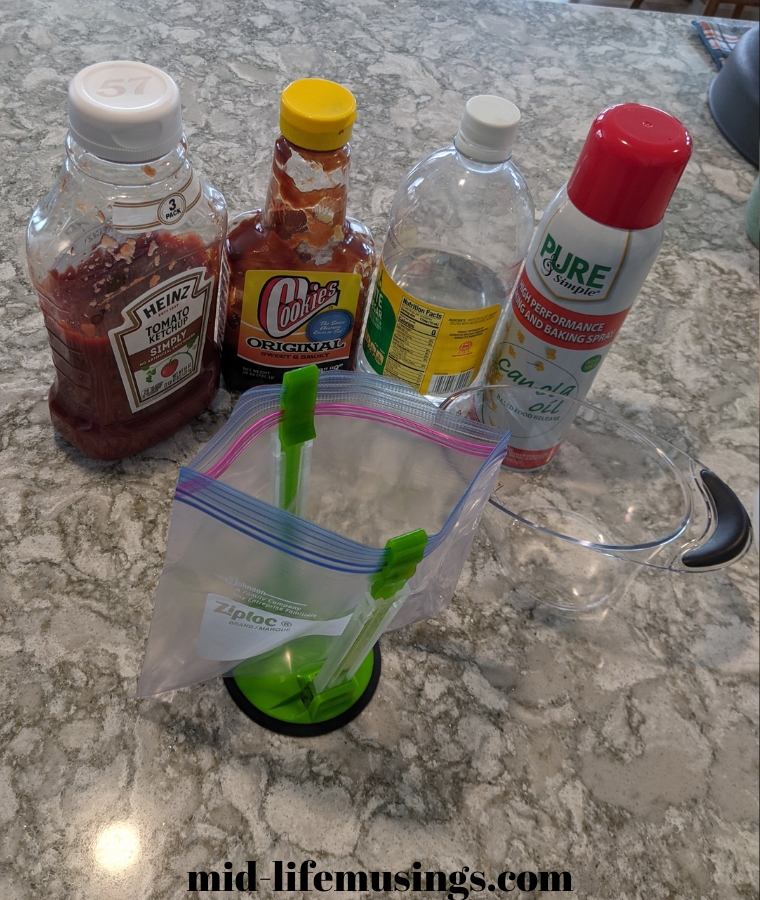
- Freezing — freezer containers (reusable or disposable but recyclable) or freezer bags, heavy-duty foil, plastic wrap, cookie sheets, bag holders, and a Sharpie.
- Refrigerating — casserole dishes (reusable or disposable but recyclable) or other pans for stovetop or oven use, heavy-duty foil, and plastic wrap.
- Boxing — boxes, baskets, or bins.
Note: You could also vacuum seal your make-ahead meals in plastic bags, which I do part of the time. For this storage process, you’ll need a vacuum sealing machine, a roll of bags, and a Sharpie to label them. Vacuum sealing can help to prevent freezer burn, but it doesn’t work well for high-moisture foods. For example, you can vacuum seal corn, peas, or sliced meat, but not soup or very juicy fruits and other foods.
Preparations to Make Before You Start Meal Prepping
Schedule a Time to Meal Prep
I find it helpful to schedule a time for weekend meal prep at least a couple of weeks ahead of time, and I always plan to cook for two full days. But if your weekends are full, you can create your make-ahead meals on a weekday or two consecutive weekdays, depending on how many meals you’re planning to make and how much time you have for meal prep.
The key is to give yourself enough time to complete all of the preparations ahead of time so that your meal-prepping day is a success. You’ll also want to allow plenty of time on meal prep day to get all of your meals created, packaged, labeled, and stored properly to avoid spoilage.
Choose Your Recipes
You can begin choosing recipes as far off as a month or more ahead of time and up to only a few days before your scheduled meal-prepping day or days. Just make sure you allow yourself enough time to buy the groceries you’ll need to prep your meals.
When browsing through recipes it’s a good idea to choose meals that have a couple of common ingredients, like meatloaf, meatballs, and lasagna with meat sauce. This allows you to save precious time by preparing your ingredients in bulk on meal prep day.
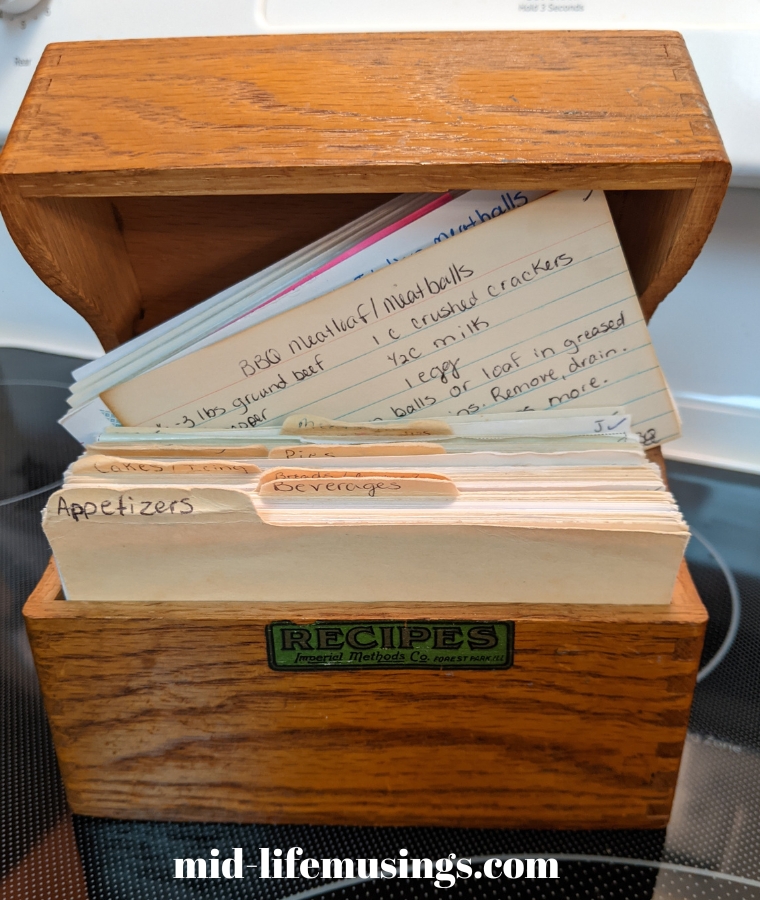
Wondering where to find recipes? If you don’t already have a box or cookbook full of delicious recipes, here are a few places you can go to find some:
- Friends, family, or coworkers
- Your local library
Create a Master List of Ingredients
Once you’ve chosen a few recipes the next step is to make a comprehensive list of all of the ingredients you’ll need. You can do this on paper or in a document on your computer — it’s totally up to you!
Start by listing all of the ingredients from one of the recipes and then add all items from each of the other recipes. In other words, if you’re making three recipes with two requiring a pound of hamburger and the third requiring one and a half pounds of hamburger, your list should show that you need a total of three and a half pounds of hamburger.
Inventory Your Pantry
After you’ve created a single list of all the ingredients for all of your recipes you can inventory your cupboards, refrigerator, and freezer to see if you already have some of the needed items on hand. If you do, mark them off your list and either set them aside or label them so that you won’t use them for a different meal before your scheduled meal prep day rolls around.
The last thing you want to do on meal prep day is to make an extra trip to the store to buy something you were supposed to have set aside for your make-ahead meals. What a waste of time that would be!
Make a Grocery List
Whatever items are left on your master list of ingredients after completing your food inventory should be the items you need to buy at the grocery store. But I must confess that sometimes I add an extra onion or another pound of hamburger just to make sure I have enough of certain items I use on a regular basis anyway. Whether or not you do the same thing is up to you, of course.
Buy Your Groceries
Your next step is to buy groceries, which you can do a couple of different ways. You can go to the store and shop, shop online and pick up your groceries, or shop online and have them delivered.
However you choose to shop for your make-ahead meal ingredients, there are also a number of ways you can save on your groceries.
How to Assemble a Make-Ahead Meal
Recently, I drove four and a half hours to my daughter and son-in-law’s house to make freezer meals with them. We chose to make them over a weekend, and our reason for making them is that my daughter is expecting her second child. As business owners and busy parents of an energetic toddler, they needed some quick, easy meals they could throw together when life gets even more hectic right after the baby is born.
We’d already successfully made freezer meals before their first baby was born. So, we followed the same process, described above, and made a total of around 115 meals, which is actually about half again more than we made the first time around!
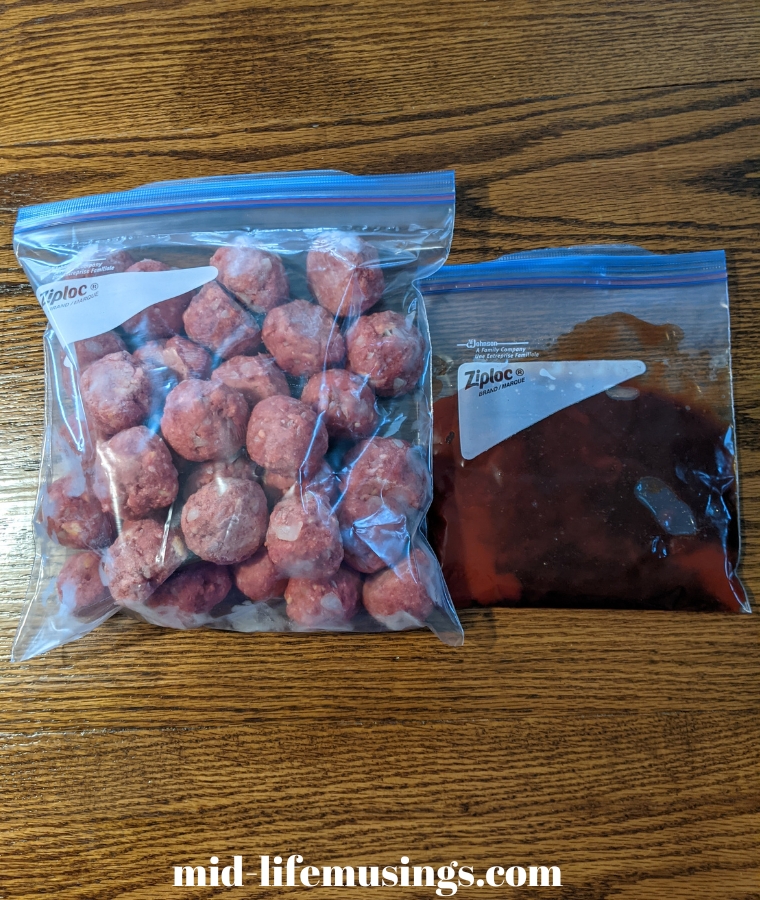
Some of the meals we made ahead were fully cooked and carefully placed in their freezer, and some were prepared raw and also added to their freezer. One of the meals we made raw is BBQ meatballs, and you can find the recipe below.
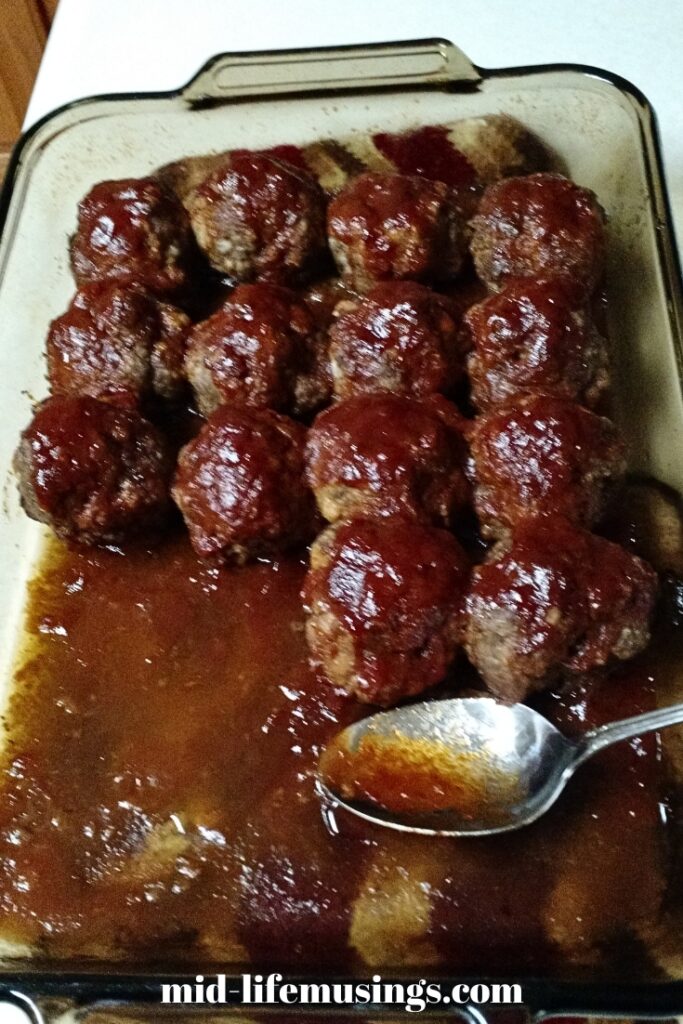
BBQ Meatballs
These barbeque meatballs have the tangy flavor you’re looking for without being too spicy or strong.
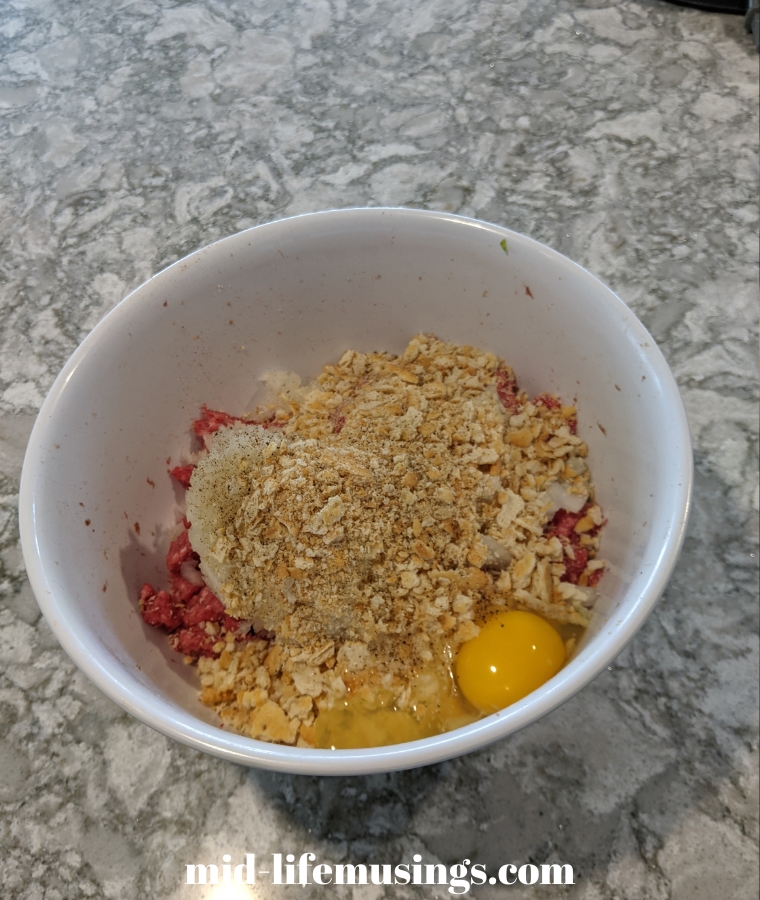
Meatball Ingredients:
- 1.5 pounds of ground beef
- 1/2 cup diced onion
- 1/2 cup crushed crackers
- 1/4 cup milk
- 1 egg
- dash of salt and pepper
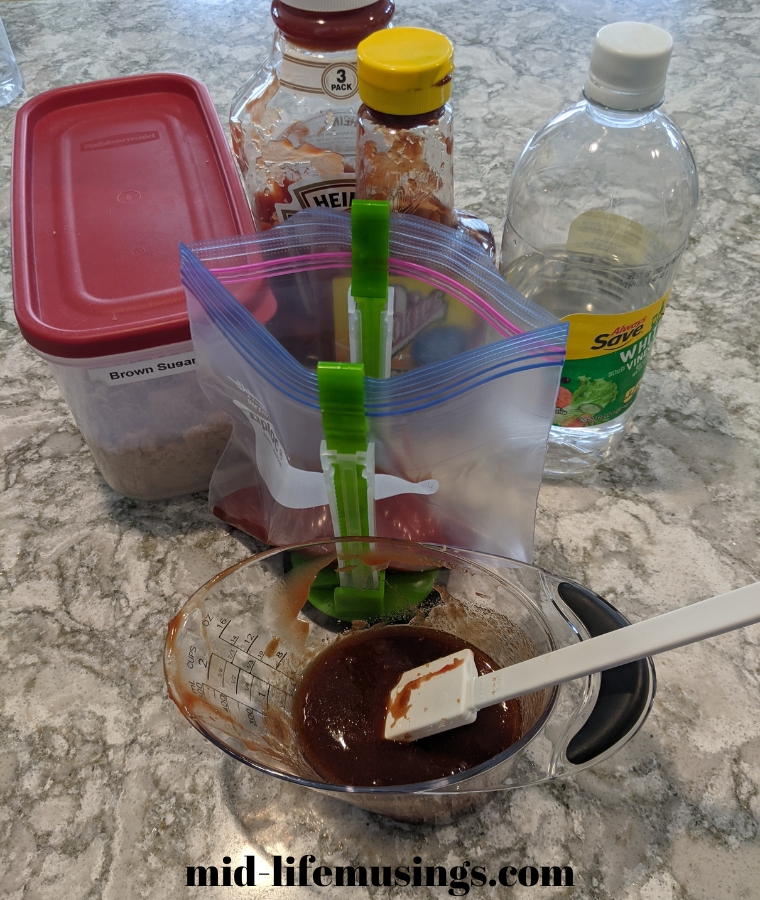
BBQ Sauce Ingredients:
- 1/3 cup ketchup
- 1/4 cup brown sugar
- 2 tsp vinegar
- 1/4 cup Sweet Baby Ray’s BBQ Sauce (or sub your favorite BBQ sauce)
Directions:
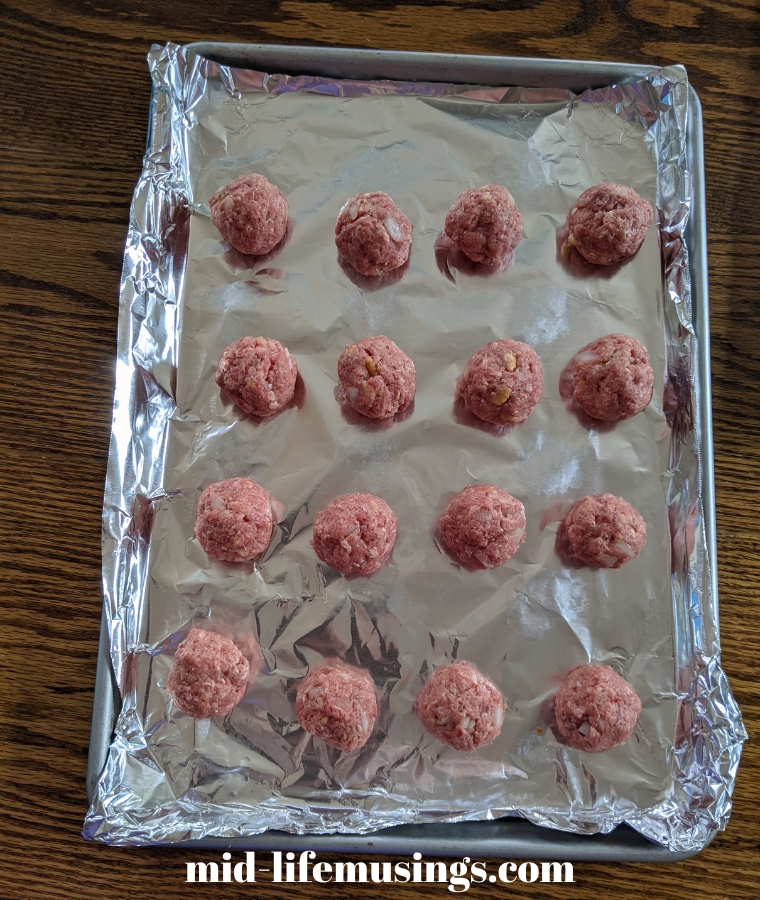
- Mix all ingredients together and form balls.
- If freezing so they can be cooked and eaten later, place the meatballs on a cookie sheet and freeze for an hour or two before placing them in a gallon zip lock bag so they don’t stick together.
- If frozen, thaw first, then bake at 350° for 45 minutes.
- Remove the meatballs from the oven, drain the grease, spread the sauce over the top, and bake for an additional 15 minutes.
Note: You can also make Sweet and Sour Meatballs using almost the same recipe!
Other Meals You Can Make Ahead and Freeze
It goes without saying that there are lots of different recipes you can make ahead and freeze. A few additional recipes I have made successfully include:
- Sausage Gravy — fully cooked and stored in a Ziplock freezer bag so you just thaw, heat in a bowl, and serve over freshly baked biscuits. Note: Some people say the gravy will separate when there are milk products in it, but I’ve never had a problem with that and I’ve frozen and reheated sausage gravy many times!
- Breakfast Burritos — fully cooked, individually wrapped in wax paper then placed in a Ziplock freezer bag in groups of six so they are ready to be removed and heated from frozen one by one.
- Meatloaf — uncooked in a foil pan so it’s ready to be baked.
- Beef Enchiladas — with only the meat cooked, both as a casserole in a foil pan and individually wrapped in wax paper then packaged inside a Ziplock freezer bag in groups of six.
- Chicken Enchiladas — again, with only the meat cooked and both as a casserole and individually wrapped in wax paper.
- Lasagne — with only the meat cooked and in a foil pan so it’s ready to be baked.
- Tater Tot Casserole — with only the meat cooked and in a foil pan so it’s ready for baking.
The possibilities of foods you can make ahead are nearly endless — although some meals cook or reheat better than others depending on how you choose to store them. Experiment with some of your recipes to come up with the best way to prepare, store, and cook or reheat them!
Tips for Creating Make-Ahead Meals
Meal Prep
- You don’t have to choose a single way to meal prep and do it only that way for all meals every time. When I meal prep I sometimes make fully cooked batch meals as well as uncooked batch meals.
- Batch cook or cut your ingredients to save time while making your meals. If you need 5 pounds of cooked hamburger spread over 3 or 4 different recipes, cook all of the hamburger at once. Need 3 whole onions for several recipes? Chop all of it at the same time and then measure out what you need for each recipe.
- Consider how you will reheat or cook your meals to help you decide the make-ahead meal method that will be best for you.
- Label everything so that it’s clear what the package contains and how to cook it — or not. I can’t stress this tip enough. Label, label, label!!
- Short on time to meal prep? Just cut veggies ahead and freeze or refrigerate them for use later in soups, casseroles, salads, etc.
Storage
- Try to avoid freezer burn by eliminating air pockets or excess moisture in packaging. Let cooked foods cool for a while, but be cautious to avoid spoilage. Wrap disposable foil casserole pans with plastic wrap first and then foil around the entire thing.
- Some foods don’t freeze well, such as pasta, rice, raw potatoes, leafy greens, mayonnaise-based foods, sliced or block cheese, cream cheese, and high-moisture fruits and vegetables.
- Store food as flat as possible when it’s in freezer bags to allow more food to fit in your freezer. This can also help to protect food from freezer burn.
- Refrigerated greens and raw veggies keep longer if you don’t add dressing or sauces until you’re ready to eat them.
- Keep food safety in mind and don’t leave food out too long. If you have any questions you can check the FDA’s food storage guidelines to ensure the safe handling of your food.
Recipes
- Keep your recipes so that you can make them again if you and your family like how they turned out. This will save you time the next time you meal prep.
- Make notes about how meals turned out and what recipe or storage changes you might try the next time to make them even better.
- Use quality ingredients such as clean, fresh vegetables or high-quality meats to get the best results.
- Make the list of recipes doable and don’t try to make too many recipes the first time you meal prep. You can always schedule another time to make more!
Ingredients List and Grocery List
- Keep your lists to make it easier the next time you create make-ahead meals.
- Save your lists in a Google Doc. I actually have both my ingredients list and grocery list in a Google document so I can access it from either my phone or computer at a moment’s notice whenever they’re needed, like while you’re at the grocery store. Working from a Google Doc is also helpful if you’re making meals with another person because you can share the document so that both of you can see and update it as needed.
Reasons You Might Want to Meal Prep
As I mentioned above, my reason for making freezer meals with my daughter and her husband was to prepare for the arrival of their next bundle of joy. Obviously, you’ll have your own reason to create make-ahead meals, which might be the same or different from my reason.
Still, weekend meal prepping is convenient and great for lots of different situations. Some reasons you might want to meal prep could include:
- Preparing for the birth, adoption, or fostering of a child or children
- Planning ahead for an upcoming surgery or other medical procedure
- Having nearly zero time to cook during the week
- Being a busy mom or dad of older kids with lots of weekday activities
- Creating homemade food gifts for the holidays
- Making snacks for the Superbowl or some other big event, gathering, or party
No matter the reason you are considering creating make-ahead meals, we hope the information you’ve found here will help the process go a little smoother. Good luck and happy eating!